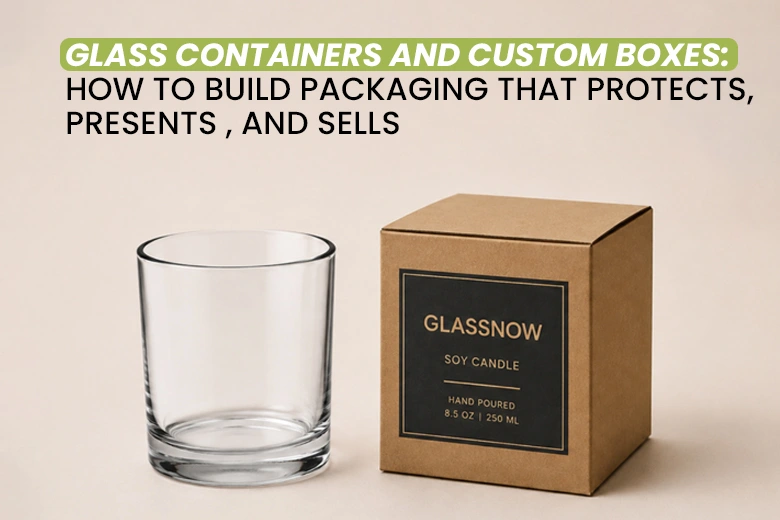
If your packaging design is not pulling its weight, you are leaving money on the table, and I do not mean “it could look nicer.” I mean the kind of money you lose when customers scroll past because your product does not feel trustworthy, when returns spike because the box does not protect well, or when you overpay for shipping because the size was guessed instead of engineered.
Packaging is not a decoration. It is a sales tool, a protection system, and a brand experience, especially for e-commerce, retail shelves, and B2B supply, where buyers judge fast and reorder based on reliability.
This blog is a step-by-step checklist you can actually follow. It is written for every seller and business, whether small brands, growing e-commerce stores, B2B suppliers, and large setups, who want packaging that looks premium, performs under pressure, and scales cleanly without costly mistakes.
Phase 1: Define the Purpose and Requirements
Step 1: Clarify The Packaging Objective
Before a designer touches a layout, you need clarity. Packaging decisions only make sense when they are tied to a goal.
A retail-first box prioritizes immediate visual impact and quick value communication. An e-commerce-first box is designed to survive shipping and still look good when it arrives. A B2B box often prioritizes repeatable logistics, labeling clarity, and cost control. One package can do multiple jobs, but only if you plan it that way.
So start by writing a short packaging brief. Clearly define where the packaging will be used, whether the priority is branding, protection, or cost efficiency, whether the product is premium or budget, who the target customer is, and whether the packaging will be displayed or mostly shipped. That will become your “decision filter.” When someone suggests a new finish, a cheaper material, or a different structure later, you can quickly check whether it supports the brief or drifts away from it.
Step 2: Understand The Product Inside The Box
Packaging fails when the product details are vague. “It is about this big” is how you end up with excess empty space, rattling during transit, or inserts that do not fit. This is where you get painfully specific: exact product length, width, height, weight, fragility level, and any temperature sensitivity. You also decide early whether you need cushioning or inserts, and whether a window cutout is necessary for retail display.
Think of it this way: your product specification sheet is what protects you from rework. It is also what allows a packaging supplier to quote correctly and recommend the right board strength. If you skip this step, every step after it becomes guesswork.
Phase 2: Structural Design
Step 3: Define the packaging type
Choose the structure of your packaging, and this is not a “design taste” decision. It is an engineering and brand-positioning decision. The right box type affects protection, cost, perception, and even how customers experience it.
Here is how the most common options typically fit:
- Folding cartons: They are Ideal for lightweight retail products, cost-efficient, versatile, and offer strong print quality.
- Corrugated boxes: The functional selection for shipping and protection, durable and reliable for transit.
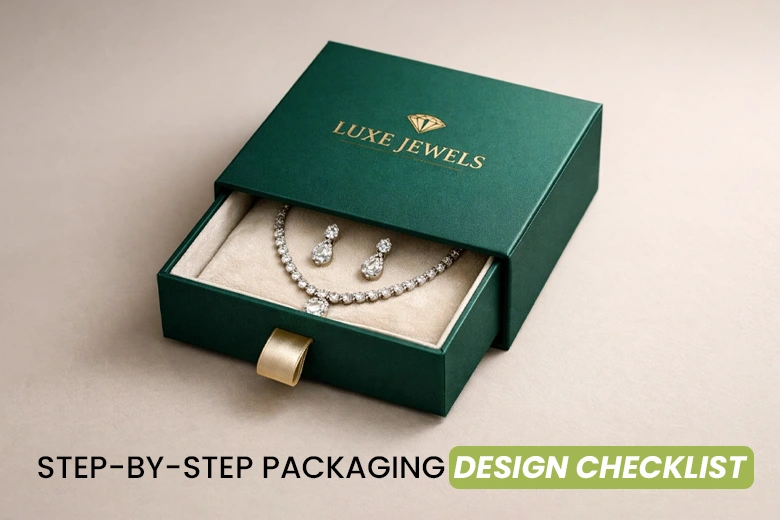
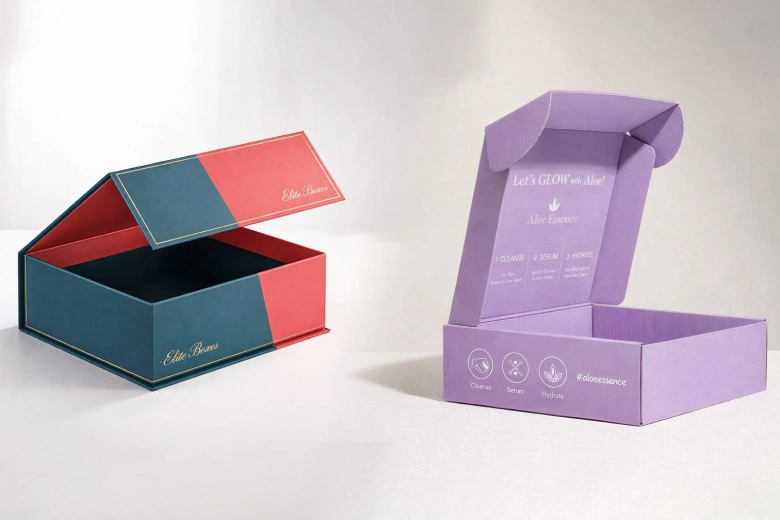
- Rigid boxes: They are best for premium positioning, gifting, cosmetics, and luxury products where presentation is part of the value.
- Mailer boxes: Perfect for e-commerce and subscription brands, balance protection with a memorable unboxing experience.
- Tray-and-sleeve packaging: It offers a premium, structured feel while remaining functional and easy to open.
- Magnetic closure boxes: They elevate perceived value and create a high-end experience, but come with higher costs and shipping considerations.
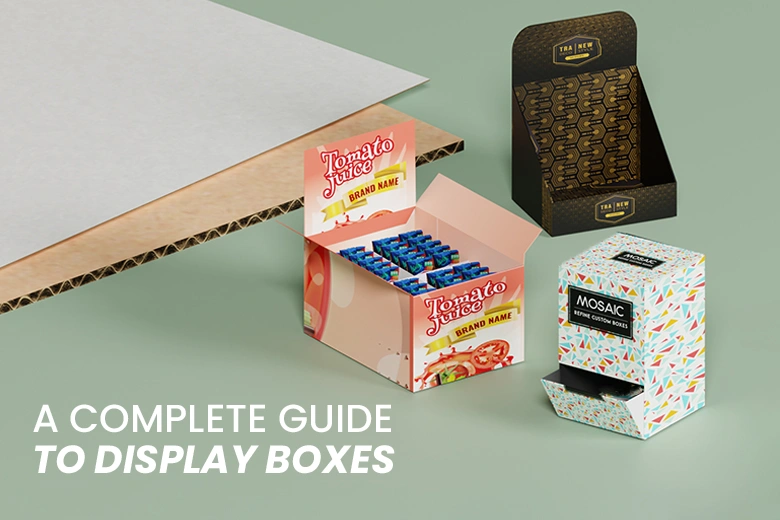
- Display boxes: They are designed for retail visibility and convenience, especially for countertop or shelf presentation.
Once you pick a type, write down why it is the right fit for your product and selling channel. That single sentence keeps decisions consistent later and prevents unnecessary changes that can disrupt the entire packaging system.
Step 4: Finalize Box Dimensions
This is where smart packaging starts saving you money. Box dimensions affect material consumption, storage space, palletization, and shipping charges. In e-commerce especially, an oversized box can quietly increase shipping fees for every single order. On the other hand, a box that is too tight makes packing frustrating, damages products, and increases returns.
The right approach is simple: take the product dimensions, add realistic tolerance space, include the thickness of any inserts, and consider how efficiently the box ships and stores. Then decide whether you can use a standard size or truly need a custom size.
When you finalize it, document the approved dimensions clearly in millimeters or inches so everyone works from one source of truth.
Step 5: Choose Material And Thickness
Once the box dimensions are finalized, the next step is selecting the right material and its thickness. This decision directly influences how well the packaging protects the product, how it prints, the overall cost, and the way customers perceive your brand.
Materials should always be chosen based on product weight, fragility, and where the packaging will be used, whether on retail shelves or in shipping environments.
SBS Paperboard (12 pt, 14 pt, 18 pt): A smooth, bright surface that delivers excellent print quality, making it a popular choice for retail cartons. It is commonly referred to as cardboard in many markets.
Kraft Board (14 pt, 18 pt): It offers a natural, earthy appearance that works well for eco-focused or minimalist branding, though it slightly softens printed colors.
Corrugated Board (E flute, B flute, C flute): Designed for strength and cushioning, making it ideal for shipping and heavier products. Flute size can be adjusted depending on the level of protection required.
Rigid Board (800 gsm to 1600 gsm): It is thick and durable, used for premium packaging, e.g., custom rigid boxes, where presentation and structure are part of the product experience.
Thickness should always match the level of protection needed. Lightweight items may only require thinner paperboard, while fragile or high-value products benefit from thicker, denser materials. For instance, products like perfumes, electronics, gourmet items, or gift sets are often packed in rigid or reinforced structures to ensure both safety and a premium feel.
Once dimensions, material, and thickness are defined, the structural foundation of the packaging is in place. This makes it easier to move confidently into visual design and finishing decisions.
Step 6: Create The Die-Cut Template
If packaging had a “blueprint,” this is it. The die-cut template, often called a dieline, defines exactly where your box will be cut, folded, creased, and glued. When dielines are sloppy, you get text on folds, logos disappearing into flaps, misalignment that makes a professional brand look amateur, and delays that stop production.
A good dieline includes cut lines, crease lines, bleed, and safe zones, with clear fold directions. It also respects print realities, like leaving enough bleed area (at least 3mm) so tiny shifts during cutting do not create white edges. When your designer builds from a proper dieline, the rest of the process becomes smoother and far less risky.
Phase 3: Visual Design
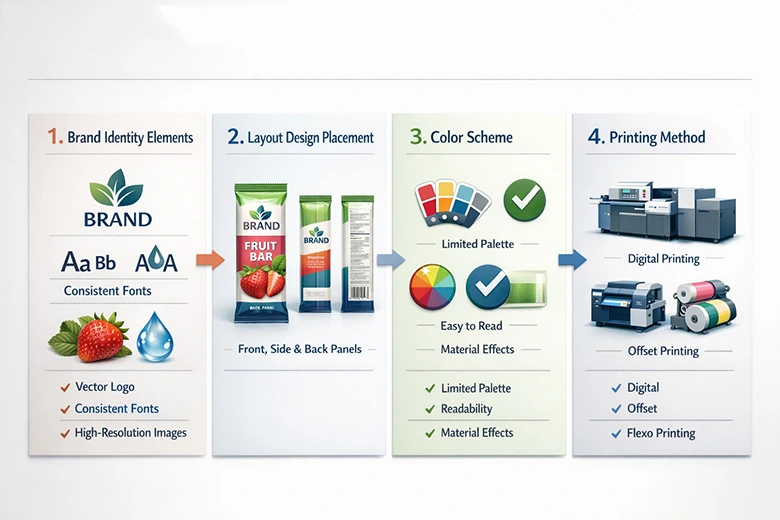
Step 7: Define Brand Identity Elements
Now you make it look like your brand, not a generic box. This step is where many sellers accidentally sabotage themselves by using low-quality logos, random fonts, or colors that look perfect on a screen but print incorrectly.
Make sure your logo is in vector format, your brand colors are defined in CMYK (not RGB), your fonts are consistent, and any images are high resolution, ideally 300 DPI, to provide sharp print quality. The goal is consistency across batches and vendors. When your packaging looks the same every time, customers learn to trust you. That trust turns into repeat purchases.
Step 8: Layout Design Placement
Packaging design is not about filling space. It is about guiding attention. Customers scan, they do not study. Retail shoppers give you seconds. E-commerce shoppers judge by photos and then by the unboxing moment. B2B buyers want clarity, reliability, and fast recognition.
That is why placement matters.
- Your front panel should instantly communicate who you are, what the product is, and why it matters.
- Side panels support the decision with features, story, or patterns.
- The back panel handles details like ingredients, instructions, barcode, compliance text, and sometimes QR codes.
When information is arranged logically, your packaging feels premium even before you add special finishes.
Step 9: Choose The Color Scheme
Color is one of the fastest ways to signal price positioning. It also affects readability and shelf visibility. The biggest mistake here is overdoing it, too many colors, too much noise, not enough contrast.
A strong approach is to prioritize brand colors, limit the palette, and make sure text is easy to read in real-world lighting. Also remember that materials change color appearance. A color printed on a kraft looks different from the same color printed on a bright white board. Finishes like gloss or matte also change the way colors feel. If you plan for this early, your final product looks intentional instead of “close enough.”
Step 10: Select The Printing Method
Printing is where budget meets reality.
- Small runs often suit digital printing because it is flexible and does not require large setup costs.
- Larger volumes often favor offset printing because it produces consistent, high-quality results at scale.
- Corrugated packaging frequently uses flexo printing, especially when you want cost-effective branding on shipping boxes.
The key is to choose based on quantity, quality expectations, and how critical exact color matching is for your brand. Once chosen, document the method so there is no confusion when you request quotes or place orders.
Phase 4: Finishing and Special Effects
Step 11: Decide Finishes
Finishes can transform packaging from “nice” to “wow,” but only when they fit your brand and product tier.
- Matte lamination can feel modern and premium.
- Gloss can feel vibrant and energetic.
- Spot UV can highlight a logo or key element and add tactile interest.
- Foil stamping can communicate luxury.
- Embossing and debossing add a quiet, confident premium feel without screaming for attention.
The trick is restraint. If your product is budget-focused, a clean layout and strong material choice often beats flashy finishes that inflate cost without increasing conversion. If your product is premium, the right finish can justify the price and improve perceived value immediately.
Step 12: Plan Inserts or Protection
Protection is not optional if shipping is involved or if your product has any fragility. Inserts also influence customer perception. A product that sits perfectly, does not move, and presents neatly feels high-end even if the materials are simple.
EVA foam inserts, cardboard inserts, molded pulp trays, and corrugated dividers all have different costs and sustainability implications. Whatever you choose, the goal is a secure fit, stable product placement, and zero movement inside the box. If the product shifts, it breaks. If it breaks, you pay twice: once for replacement, and once in reputation.
Phase 5: Compliance and Practicality
Step 13: Check Legal and Labeling Requirements
Depending on what you sell, packaging may need specific information. Ingredients, warnings, recycling symbols, country of origin, and barcodes are not “nice-to-haves”. They are required in many categories and markets.
This step is about protecting your business. Small, unreadable text, missing labels, or incorrectly formatted text can cause issues with retailers, shipping partners, and compliance checks. Make sure everything is legible, accurate, and positioned so it does not get cut off in production.
Step 14: Shipping and Storage Considerations
Packaging is not finished until it survives real life. Can it stack? Will it crush under weight? Is it easy to assemble at speed? Does it ship cost-efficiently? These questions matter whether you are shipping 20 orders a day or 20,000.
Poor shipping performance does not just create damage; it creates chaos in operations. And if your packaging takes too long to assemble, you pay for it every day in labor. Good packaging makes your workflow faster, cleaner, and more predictable.
Phase 6: Prototype and Testing
Step 15: Create a Sample Prototype
This step separates serious brands from brands that gamble. You prototype because what looks perfect on a screen can disappoint in physical form. Colors shift. Materials feel different. Text that seemed readable suddenly is not. The fit might be too loose or too tight.
A digital mockup is useful for alignment, but a physical prototype is what reveals the truth. Test fit, sturdiness, and real-life appearance. If something is off, revise now, because revisions are cheap before mass production and painfully expensive after.
Step 16: Final approval checklist
Before production, you lock everything. Dimensions, artwork, colors, finishes, material selection, and sample approval must all be confirmed. This is where you eliminate ambiguity. If you are working with a team or client, get written approval. It is not about being formal. It is about avoiding “I thought you meant…” mistakes that lead to costly reprints.
Phase 7: Production and Quality Control
Step 17: Send to production
When it is time to manufacture, you provide a complete, production-ready package:
- The final dieline
- Print-ready artwork
- Material specifications
- Finishing instructions.
The more precise you are here, the fewer surprises you will face later. Clear inputs create clean outputs.
Step 18: Quality Check After Production
When the packaging arrives, you inspect it like a pro. Check print quality, color accuracy, cut precision, folds, and structural strength. Even great suppliers can have batch variation. Catching issues immediately protects your timeline and your inventory.
If something is wrong, do not quietly accept it and “make it work.” Packaging problems spread quickly into customer experience, reviews, returns, and brand trust. Fix it at the source.
The takeaway
When you follow this step-by-step packaging design checklist, you are not just making a box. You are building a system that improves how customers perceive you, reduces damage and returns, helps your product stand out, and makes your operations smoother.
FAQs
Q1. What are the key steps in the packaging design process?
The process includes defining objectives, documenting product specifications, choosing the box type and dimensions, selecting materials, creating a dieline, designing visuals, choosing printing and finishes, checking compliance, prototyping, and performing quality checks before production.
Q2. How do I choose the right packaging material?
Select material based on weight, fragility, and usage. Paperboard works for lightweight retail products, corrugated board provides shipping protection, and rigid board is best for premium items that need strong presentation.
Q3. How do I determine the correct box size?
Measure the product precisely, add tolerance space, include insert thickness, and consider shipping efficiency. The goal is a snug fit that prevents movement without increasing shipping costs. For a detailed walkthrough, see our guide on how to measure box dimensions.
Q4. Which printing method is best for packaging?
Digital printing is ideal for small runs and flexibility, offset printing suits large volumes with consistent color, and flexo printing is commonly used for corrugated packaging and shipping boxes.
Q5. Why is packaging prototyping important?
A prototype allows you to test fit, durability, readability, and real-world appearance. It helps identify issues early, avoiding expensive production errors and reprints.
Q6. What resolution should images be for packaging design?
Images should be at least 300 DPI at the final print size to assure sharp, professional print quality. Logos should be in vector format for scalability.
Q7. What finishes make packaging look premium?
Premium perception can be heightened with matte or soft-touch lamination, spot UV, foil stamping, embossing, or debossing. The key is choosing finishes that match the product’s price positioning.
Q8. What are common packaging design mistakes to avoid?
Mistakes include unclear objectives, incorrect sizing, low-resolution artwork, poor material selection, skipping prototypes, and missing compliance details, all of which can lead to higher costs and weaker customer trust.